
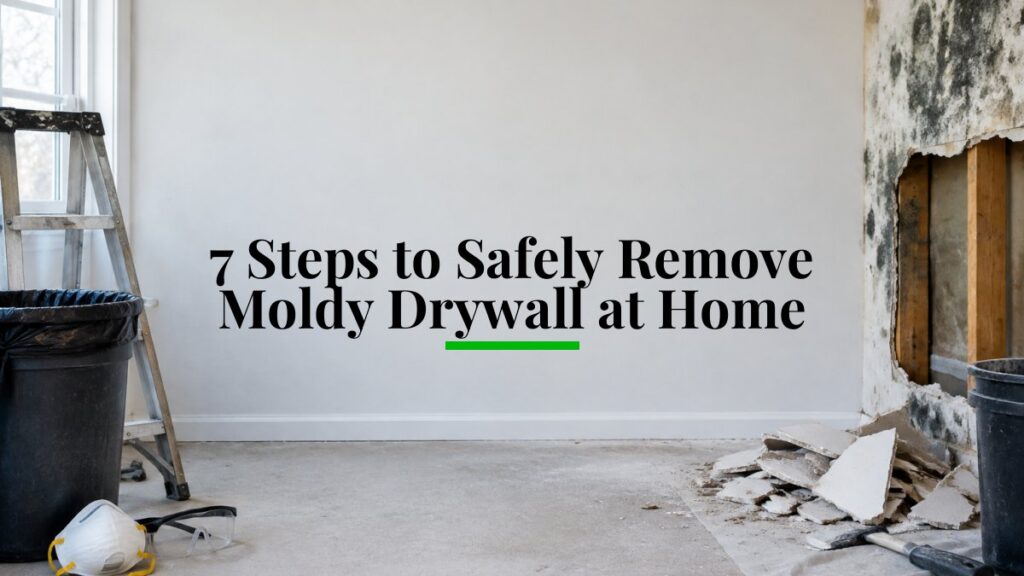
Quick Summary
To remove moldy drywall safely, first assess the size and location of the growth and fix the moisture source. Seal the work area with 6-mil sheeting, wear an N95 respirator, gloves and goggles, then cut at least 12 inches past the growth and bag debris as you go.
- Call a professional if mold covers more than about 10 square feet or sits inside a wall cavity.
- Keep vulnerable occupants out of the work zone, including people with asthma or allergies, pregnant people, and young children.
- Turn off the HVAC system and cover registers to keep spores out of the ducts.
- Double-bag wet or visibly moldy drywall and wipe bag exteriors before carrying them out.
- Dry the framing with a moisture meter check before closing the wall.
Table of Contents
- Is Mold on Sheetrock Dangerous? Assessing the Risk Before You Start
- Gear Up and Contain the Work Area Before Touching Any Drywall
- How to Safely Remove Moldy Drywall from the Wall, Step by Step
- Checking the Cavity, Framing, and Adjacent Materials
- Will Bleach Kill Mold on Drywall? Why Cleaning Usually Isn’t Enough
- Mold Drywall Removal Cost: DIY Expenses vs. Professional Remediation
- Scheduling Your Professional Inspection and Post-Removal Clearance
- Frequently Asked Questions
Is Mold on Sheetrock Dangerous? Assessing the Risk Before You Start
Last Updated: November 14, 2026
Mold on sheetrock is not always an emergency, but it is never something to ignore.
Mold on drywall is a fungal growth that feeds on the paper facing and gypsum core when moisture stays present. Drywall is porous, so spores and fragments can travel into the air during removal.
Think about these factors before you start:
- Size of the area. A few small spots are different from a patch larger than about 10 square feet.
- Location. Growth inside a wall cavity or near an HVAC system is harder to control.
- Who is exposed. Children, older adults, pregnant people, and anyone with asthma or allergies face higher risk.
The U.S. Environmental Protection Agency (EPA) advises that areas of mold larger than about 10 square feet generally call for professional help, and that the moisture problem must be fixed first. EPA guidance on mold cleanup in your home
A Practical DIY-vs-Professional Decision Framework
Size alone does not decide the job. Use these criteria to sort your situation into one of three buckets.
Reasonable to handle yourself when all of these are true:
- The visible growth covers roughly 10 square feet or less on a single surface.
- The moisture source is identified and already stopped (a fixed supply line, a sealed roof leak, a dried spill).
- The mold is on the surface of the drywall or trim, not spreading from inside a wall cavity.
Call a professional when any of these are true:
- The affected area is larger than about 10 square feet, or growth keeps reappearing after cleaning.
- Mold is visible inside a wall cavity, above a ceiling, under flooring, or on structural framing.
- The HVAC system, ducts, or a central air handler may have pulled spores through the home.
Get an inspection before deciding when the situation is ambiguous: growth that looks small but smells strong elsewhere, a recent insurance claim, or a home sale or purchase in progress. An inspection answers the extent question so you are not guessing.
Health Precautions for Vulnerable Occupants
Some people should not be in or near the work zone at all, even for a small job. People with asthma, mold allergies, or other respiratory conditions; anyone who is immunocompromised; pregnant people; and young children face higher risk from airborne spores and fragments.
Watch out: Do not assume the drywall looks clean because the surface was painted over. Mold can grow behind paint and inside the paper layer.
Gear Up and Contain the Work Area Before Touching Any Drywall
Good preparation protects you and the rest of the house. Gather your protective equipment and set up containment before you cut anything.
Protective equipment should include:
- A fitted N95 respirator or better
- Nitrile gloves, not cloth gloves
- Sealed goggles, not glasses with open sides
Containment means keeping the work area separate from the rest of the home. Use 6-mil polyethylene sheeting to seal doorways and vents.
Mold removal work is not a place to cut corners. OSHA guidance on respiratory protection for workers
How to Safely Remove Moldy Drywall from the Wall, Step by Step
Follow these steps in order. The sequence matters as much as the tools: contain first, cut second, bag as you go, and clean before you leave the zone. Wet the area lightly with a mist of water before cutting to reduce dust.
Step 1: Set Up Containment Before You Cut
Isolate the work zone so spores cannot ride air currents into the rest of the home.
- Seal doorways and open vents with 6-mil polyethylene sheeting and tape. Overlap seams and tape them fully.
- Turn off the HVAC system and cover supply and return registers in the work area so the system does not pull spores into the ducts.
- Establish a single entry and exit point. Keep a clean drop cloth or plastic path just outside it for stepping out.
Step 2: Mark and Cut the Drywall
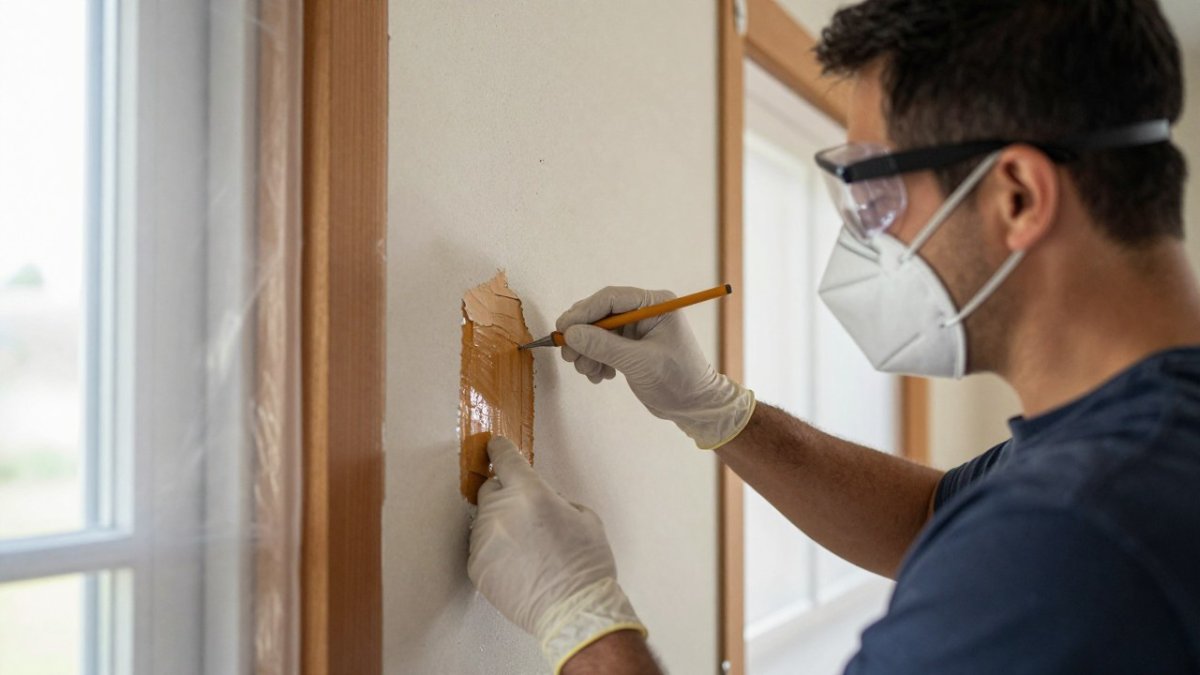
- Mark the cut lines. Draw a rectangle at least 12 inches past the visible growth in every direction. If the growth reaches a corner or the floor line, extend the cut to that boundary so you are not leaving contaminated paper behind.
- Score and cut with a utility knife or drywall saw. Keep the cut shallow to avoid hitting wiring or pipes. Cut in straight lines so the removed pieces stay whole and are easier to bag.
- Pull the sections out gently. Work from the bottom up and place each piece directly into a heavy plastic bag. Do not stack debris on the floor or carry loose pieces through the house.
Step 3: Bag and Seal Debris as You Go
- Use heavy-duty plastic bags (contractor bags or 6-mil or thicker). Do not overfill; a bag you can lift and tie is safer than one that tears.
- Twist, tape, and label each bag before carrying it out of the room. Labeling matters if local disposal rules require it.
- Double-bag when the material is visibly moldy or wet. Wet drywall is heavy and tears bags easily.
Step 4: Remove Affected Trim and Insulation
Remove the baseboard and insulation if they show mold or feel damp. Insulation that has been wet and moldy generally cannot be cleaned and should be bagged with the drywall. Trim can sometimes be cleaned if it is solid wood and surface growth only, but replace it if growth has penetrated the wood.
Step 5: Clean the Cavity and Framing
Clean the surrounding framing with a stiff brush and a HEPA vacuum before anything else. Vacuum surfaces rather than dry-brushing them, which sends spores airborne. Follow with a damp wipe on non-porous surfaces. Do not use bleach as a substitute for removal; it lightens stains but does not eliminate growth from porous material.
Step 6: Decontaminate Yourself and Your Tools
Before leaving the work zone, wipe down tools, shoe covers, and bag exteriors. Remove disposable coveralls inside the zone and bag them. Wash work clothes separately in hot water. This step is what keeps the job from spreading spores to the rest of the house.
Step 7: Dispose of Debris Properly
Carry all bags out through the containment zone and dispose of them according to local rules. Once the bags are gone, verify that the affected area is clean and dry before rebuilding, since Fire, Water Damage Restoration Toronto can help you understand what to check before closing the wall.
Many homeowners find that cutting in neat rectangles makes the job faster and reduces the mess. Keep the pieces whole when you can, because they are easier to bag.
The seven steps follow a clear sequence, so the table below summarises what to do at each stage.
| Step | What to do | Key detail |
|---|---|---|
| 1. Set up containment | Seal doorways and vents with 6-mil sheeting, turn off HVAC | Cover registers; single entry and exit point |
| 2. Mark and cut drywall | Cut at least 12 inches past visible growth | Cut shallow to avoid wiring or pipes |
| 3. Bag debris as you go | Use heavy-duty bags, double-bag if wet or visibly moldy | Wipe bag exteriors before leaving the zone |
| 4. Remove trim and insulation | Bag wet or moldy insulation with the drywall | Replace wood trim if growth has penetrated |
| 5. Clean cavity and framing | HEPA vacuum first, then damp wipe | Do not dry-brush; skip bleach on porous material |
| 6. Decontaminate yourself | Wipe tools, bag coveralls, wash clothes in hot water | Prevents spores spreading through the house |
| 7. Dispose of debris | Carry bags out through containment | Follow local disposal rules |
Checking the Cavity, Framing, and Adjacent Materials
Removing the visible drywall is only half the job. Mold often spreads to the wood framing, insulation, and the back side of nearby panels.
Use a moisture meter on the studs and bottom plate. Readings that stay high after the leak has stopped mean water is still getting in.
Check these adjacent materials too:
- Baseboards and trim
- Insulation batts
- Subfloor edges
Watch out: Closing a wall before the framing is fully dry is one of the most common causes of mold returning within months.
Will Bleach Kill Mold on Drywall? Why Cleaning Usually Isn’t Enough
Bleach can make mold look gone, but it rarely removes it from porous materials. Drywall paper and gypsum absorb water and hold onto spores. Bleach mostly lightens the surface stains and leaves the roots behind.
Many people try to clean moldy drywall with bleach, then paint over it. The EPA does not recommend bleach as a mold-control method, and it can create strong fumes when mixed with other cleaners. EPA guidance on bleach and mold cleanup
Drywall that shows growth should be removed rather than scrubbed. Cleaning is only reasonable on hard, non-porous surfaces like tile or sealed wood.
Mold Drywall Removal Cost: DIY Expenses vs. Professional Remediation
The cost of doing this yourself depends on the size of the job and what you already own.
Professional remediation costs more upfront but can save money if the growth is widespread or hidden inside walls.
Many homeowners also ask whether insurance covers the work. Coverage depends on the cause of the water damage and your policy terms. III guidance on homeowners insurance and mold claims
Scheduling Your Professional Inspection and Post-Removal Clearance
A professional inspection gives you a clear answer about the extent of growth and whether the work was completed properly. See what a mold inspection report shows and why you need one Learn how to prepare for a professional mold inspection The Mold Consultant, LLC offers mold inspection, post-remediation testing, and air quality testing.
Call now to schedule an inspection. After removal and drying, a clearance test confirms that the space is safe to rebuild.
Removing mold from drywall safely takes care, the right gear, and a dry source of moisture. If the area is large, hidden, or near people who are vulnerable, The Mold Consultant, LLC can help you plan the next step.
Frequently Asked Questions
Is it safe to remove moldy drywall yourself?
For small, contained patches, many homeowners can remove drywall themselves if they wear proper protection: an N95 or higher-rated respirator, nitrile gloves, and sealed goggles. Work in a containment area with the room depressurized, and bag debris in heavy plastic for disposal. Larger affected areas, growth in HVAC systems, or contamination linked to sewage or a health-sensitive occupant are situations where a licensed professional is the safer choice.
Can I kill mold on drywall without removing it?
Sometimes surface growth on painted or sealed drywall can be cleaned, but drywall is porous, and mold roots can extend into the gypsum and paper facing. Cleaning may remove visible growth while leaving the material compromised, and the mold can return if moisture persists. If the drywall is soft, crumbling, stained through the paper, or was wet for more than 48 hours, removal is usually the more reliable option. Fixing the moisture source is required in every case, whether you clean or remove.
Will bleach kill mold on drywall?
Bleach can kill surface mold on hard, nonporous materials, but it performs poorly on drywall. The water in a bleach solution soaks into the porous paper and gypsum, feeding moisture to the roots that remain, and the chlorine does not reach them. Bleach also produces strong fumes and can cause irritation when mixed with other cleaners. For drywall, removing the damaged material and treating the framing is the more dependable approach.
When should you call a professional to remove moldy drywall?
Call a professional when the affected area is large, when mold is spreading through HVAC ducts or into multiple rooms, or when the water source was contaminated, such as sewage or floodwater. Professional help is also worth considering when children, older adults, or anyone with asthma or a compromised immune system will be exposed, or when you cannot identify and fix the moisture source. A professional inspection can also provide post-removal clearance testing to confirm the space is safe to rebuild.
