
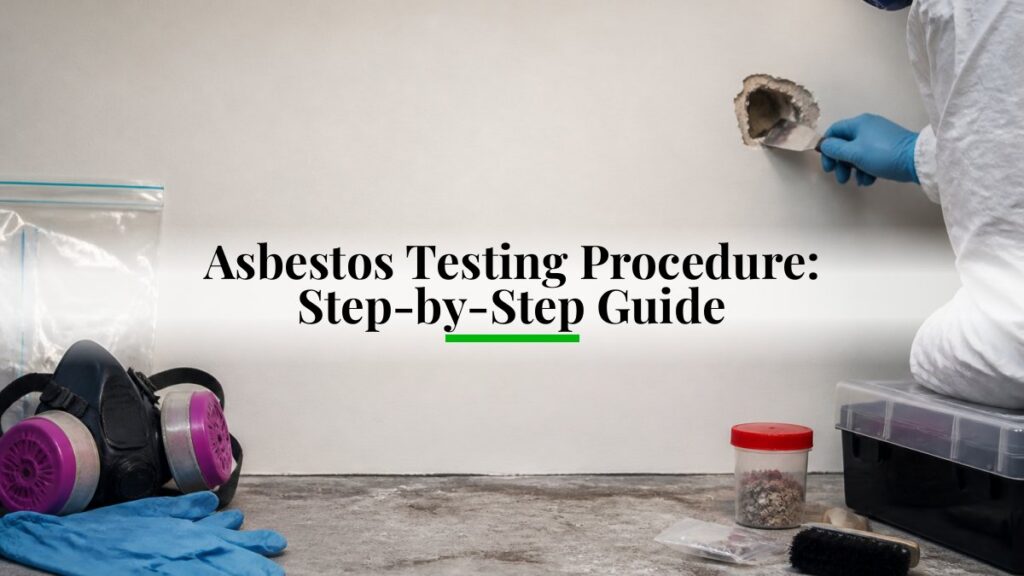
Table of Contents
- What the Asbestos Testing Procedure Involves and When You Need It
- Types of Asbestos Testing: Bulk Material vs. Air Testing
- Step 1: Visual Inspection and Identifying Suspected Asbestos-Containing Material
- Step 2: The Asbestos Sampling Procedure and Sample Collection
- Step 3: Laboratory Analysis and Understanding Your Results
- How Long Does Asbestos Testing Take?
- Should You Use an Asbestos Test Kit or Hire a Professional?
- Conclusion
- Frequently Asked Questions
Last Updated: October 21, 2026
What the Asbestos Testing Procedure Involves and When You Need It
The asbestos testing procedure is structured: a qualified inspector inspects the property, collects samples of suspected materials, and sends them to an accredited lab for microscopic analysis. The result tells you whether asbestos fibers are present and what to do next.
The Mold Consultant, LLC provides asbestos testing for homeowners, landlords, and property managers who need a clear answer before renovation, purchase, or remediation. Testing matters most in older buildings, where ceiling tiles, pipe insulation, and floor adhesives may contain asbestos.
Here is the short version of when testing is needed:
- You plan to renovate, remodel, or demolish part of an older building
- A home inspection flagged possible asbestos-containing material
- Water damage or a leak disturbed ceiling, wall, or insulation materials
- You are buying or selling a property built before the 1980s
- A tenant or employee has raised a concern about fiber release
The EPA guidance on asbestos in homes is clear that asbestos is most dangerous when fibers become airborne. Undisturbed material is usually low risk. Damaged or crumbling material is not.
That distinction drives the process: inspection finds suspect material, sampling confirms it, and lab analysis gives you evidence to leave it alone, repair it, or schedule asbestos removal.
Types of Asbestos Testing: Bulk Material vs. Air Testing
Two types of asbestos testing cover almost every situation: bulk material testing and air testing. They answer different questions, and most projects need the first one.
Bulk material testing takes a physical sample of a building material, such as ceiling tile, pipe insulation, or joint compound, and analyzes it in a lab for asbestos content. It is the standard first step.
Air testing measures asbestos fibers in the air, used after a disturbance, during remediation, or for post-remediation clearance. It does not tell you what is in your walls, it tells you what you may be breathing.
| Testing Type | What It Answers | When to Use It |
|---|---|---|
| Bulk material testing | Does this material contain asbestos? | Before renovation, demolition, or disturbance |
| Air sampling | Are asbestos fibers in the air right now? | After damage, during or after remediation |
| Pre-removal inspection | What must be handled carefully before work starts? | Before any abatement project |
A common mistake is ordering air testing first and expecting it to settle the question. It will not. To know whether a ceiling tile contains asbestos, you need a bulk sample.
Step 1: Visual Inspection and Identifying Suspected Asbestos-Containing Material
During the visual inspection, a qualified inspector walks the property and identifies suspected asbestos-containing material. It is hands-off: nothing is touched, broken, or disturbed.
The inspector looks at material condition, age, and location. Crumbling pipe insulation or a damaged ceiling tile gets flagged; intact floor tile in good shape may be noted but left alone.
Materials commonly flagged during inspection:
- Ceiling tiles and textured ceiling coatings
- Pipe and boiler insulation
- Attic and wall insulation
- Floor tiles and the adhesive under them
- Joint compound and drywall mud
- Roofing felt and shingles
- Older cement siding
The inspector also maps out a sampling plan. Each suspect material gets a number, a location, and a photo. That record becomes part of your inspection report.
Never poke, scrape, or sand a suspect material to “see what it is.” Disturbing damaged material is how fiber release happens. Leave it alone until a professional assesses it.
Step 2: The Asbestos Sampling Procedure and Sample Collection
The asbestos sampling procedure is the controlled collection of small material samples, using protective equipment and containment to prevent fiber release. Each sample goes into a sealed, labeled container.
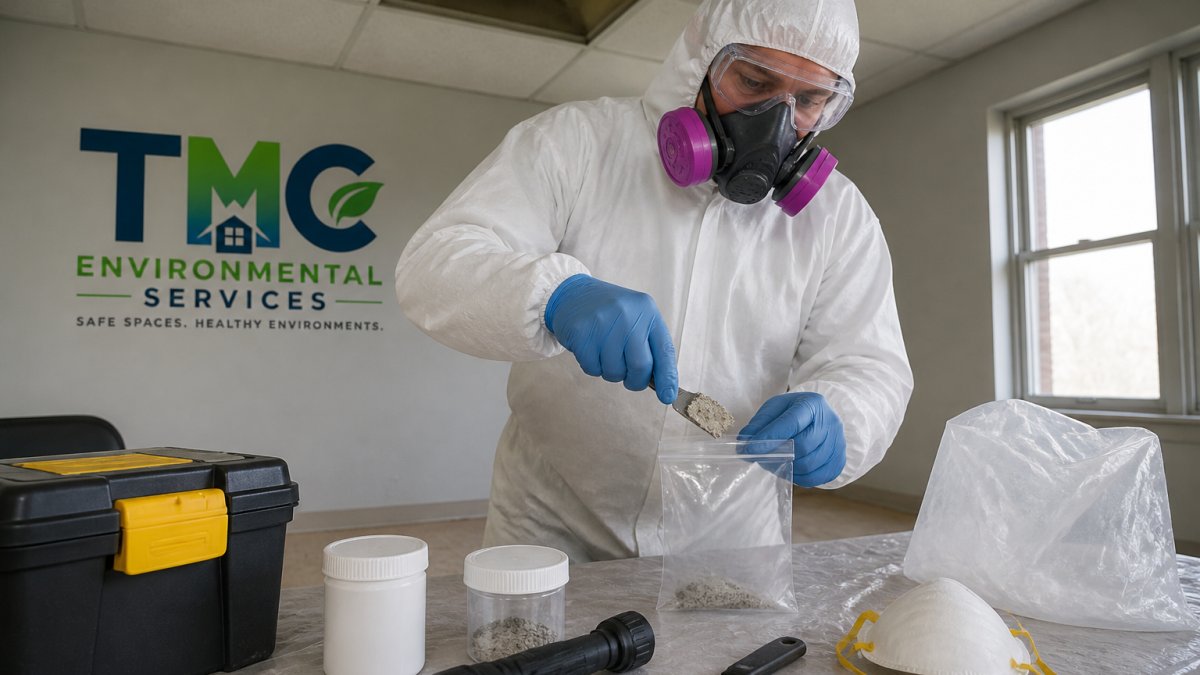
Here is how a proper sample collection works:
- Seal the work area with plastic sheeting where needed. Containment keeps released fibers from migrating to other rooms. A drop cloth often suffices for a single ceiling tile; friable pipe insulation may require a small containment with negative air pressure.
- Put on protective equipment, including a respirator and disposable suit. A fit-tested respirator rated for asbestos fibers and a disposable suit keep the inspector from inhaling or carrying fibers out on clothing. The suit is bagged and disposed of after the visit.
- Wet the material to keep fibers from going airborne. A fine mist wets the surface and edges before cutting. Wetting is the most effective field control against fiber release, which is why dry scraping or sanding is never part of a proper sampling procedure.
- Cut a small sample with clean tools. The inspector uses a utility knife, chisel, or core tool, cleans it between samples, and avoids crushing the material, which can smear layers together and produce a misleading lab result.
- Place the sample in a sealed bag or container. Each sample goes into its own sealed bag, often double-bagged, with the sample number written on the outside before sealing.
- Label it with the sample number and location. The label ties the physical sample to the inspection report and the lab chain-of-custody form.
- Clean the area and tools before moving on. Wet-wiping surfaces and tools prevents cross-contamination between samples and between rooms.
How many samples does a material need? Collect multiple samples from each homogeneous material, because asbestos content can vary from one tile to the next.
Sample handling and transport matter as much as collection. A crushed or contaminated sample can produce a false result.
Should you collect the sample yourself? A do-it-yourself sample often disturbs more material than it collects.
What the inspector records at this stage becomes the backbone of your report: sample number, material type, location, condition, and a photo of each sample location.
Step 3: Laboratory Analysis and Understanding Your Results
Laboratory analysis turns a bag of material into an answer. The lab examines each sample under a microscope using Polarized Light Microscopy (PLM), the standard method for identifying asbestos fibers in bulk samples. PLM identifies the fiber type and estimates the percentage of asbestos, which drives decisions about repair, management, or removal.
The lab report lists each sample and gives one of three outcomes:
- Positive result: asbestos is present, usually with a percentage by material type. A positive result tells you the material needs to be managed, repaired, or removed by trained professionals.
- Negative result: no asbestos detected in that sample. This is not the same as a guarantee that the material is asbestos-free.
- Trace or inconclusive: the lab may recommend a second method for confirmation, such as transmission electron microscopy (TEM), when fibers are too fine or the sample is ambiguous.
Understanding detection limits is the key to reading a negative result. A negative result means asbestos was not found at the level the method can detect.
How to read the lab report itself. Ask for the raw lab report, not just a summary. A complete report typically shows:
- The sample number and the material description as submitted
- The analytical method used (PLM, and any confirmation method)
- The asbestos types identified and the estimated percentage
- The non-asbestos components, which help confirm the sample matches the material
- The laboratory’s accreditation information and the analyst’s signature
That detail matters when a contractor, adjuster, or attorney needs documentation later; a summary saying “asbestos found” without sample locations and percentages is hard to defend.
Ask for the raw lab report, not just a summary. The report shows sample locations and percentages, which matters when a contractor or an insurance adjuster needs documentation later.
Accredited laboratory requirements vary by state. When you hire an inspector, ask which lab they use and confirm it holds the required accreditation for asbestos analysis. The OSHA asbestos standards set the framework for how samples are handled and analyzed in workplace settings, and many state programs follow similar standards for residential work. A lab that cannot show current accreditation is a reason to pause before you rely on its result.
What to do with each outcome. A positive result is not a panic button; it means the material needs a plan: leave it alone if intact and undisturbed, repair it if damaged, or schedule removal by trained professionals if renovation will disturb it.
How Long Does Asbestos Testing Take?
Most asbestos testing takes a few business days from inspection to report, depending on sample count and lab turnaround.
Testing timeline, broken down:
- On-site assessment: usually under two hours for a typical home
- Sample collection: included in that visit
- Laboratory analysis: typically a few business days
- Report delivery: often within a day of results
Rush options cost more. If you are in a real estate transaction or on a renovation schedule, tell your inspector up front; a good provider confirms turnaround in writing before you book.
Incomplete sampling stretches timelines: if the lab needs a confirmation method or the inspector missed a material, you start over. A thorough visual inspection in step one prevents that.
Should You Use an Asbestos Test Kit or Hire a Professional?
An asbestos test kit sold online or at a hardware store is a mail-in sampling product: you collect the material yourself, ship it to a lab, and get a result. It sounds convenient, but it puts the riskiest step in your hands.
Here is the honest comparison:
| Factor | Asbestos Test Kit | Professional Inspection |
|---|---|---|
| Who collects the sample | You | Qualified inspector |
| Fiber release risk | Higher | Controlled |
| Sample placement | Limited, often one spot | Multiple locations per material |
| Inspection report | Lab result only | Full report with locations and photos |
| Documentation for disputes | Weak | Strong |
| Best for | Rarely the right choice | Almost every real decision |
The kit does not assess material condition, map sample locations, or give you a plan. It gives you a lab slip. When a landlord needs documentation for a tenant dispute, or a seller needs a pre-removal inspection, that slip will not carry the weight.
If you want a neutral, defensible answer, hire a professional. The Mold Consultant, LLC pairs asbestos testing with air quality testing when a property has both fiber and moisture concerns, and provides findings in a form you can hand to an adjuster or an attorney.
The test kit saves money up front and costs you clarity later. Professional asbestos sampling gives you a documented result you can act on and defend.
Conclusion
The hardest part of asbestos testing is not the lab work, it is deciding what to do with a positive result without disturbing the material in the meantime.
If you are facing that decision, we can help. The Mold Consultant, LLC provides professional asbestos testing with accredited laboratory analysis, non-destructive inspection methods, and clear written reports. Our team has over a decade of experience, and The Mold Consultant, LLC holds CMRS and CRMI certifications, and carries an A+ accreditation from the BBB. We also offer veteran, teacher, and first responder discounts.
Get started with The Mold Consultant, LLC and get a documented answer you can act on.
Frequently Asked Questions
What happens after a material tests positive for asbestos?
A positive result means the material contains asbestos fibers. If it is in good condition and undisturbed, the safest option is often to leave it alone and monitor it. If it is damaged or will be disturbed during renovation, a licensed abatement contractor should remove or encapsulate it. Your inspector will provide a written report and recommendations, and any removal should be followed by post-remediation verification to confirm the area is clear.
Can I collect an asbestos sample myself with a test kit?
Asbestos test kits are sold online, but collecting a sample yourself carries real risk. Disturbing asbestos-containing material can release fibers into the air, and improper handling can contaminate your home. Many states also require sampling by a certified inspector. A professional asbestos sampling procedure includes protective equipment, proper containment, and chain-of-custody handling that a kit cannot replicate. For any material you suspect contains asbestos, hiring a qualified inspector is the safer choice.
How long does asbestos testing take from inspection to results?
A typical on-site inspection takes one to two hours depending on property size and how many materials are sampled. Laboratory analysis of bulk samples usually takes two to five business days, though rush options are sometimes available. Air sampling may require longer sampling periods plus lab time. Your total turnaround from inspection to written report is commonly about one to two weeks, and your inspector can confirm timelines for your specific project.
What is the difference between bulk sampling and air testing?
Bulk sampling tests a physical piece of material, such as ceiling tile or pipe insulation, to determine whether it contains asbestos. Air testing measures airborne asbestos fibers in the breathing zone, which shows whether contamination is present. Bulk testing identifies what is in your building materials; air testing confirms whether fibers have been released. A complete asbestos testing procedure may use both, especially after disturbance or before reoccupying a space.