
Last Updated: October 26, 2026
Quick Summary
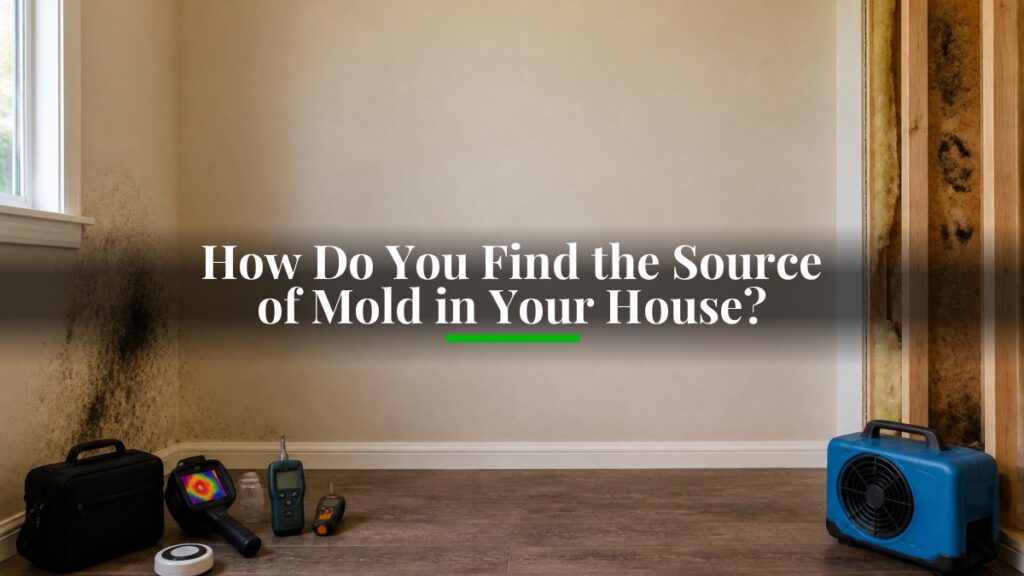
To find the mold source, follow the moisture instead of hunting for dark spots, since mold grows where water collects. Map every water entry point, measure suspect areas with a moisture meter, and separate active leaks from condensation and old damage. Confirm with a second tool before opening any wall.
- Mold needs spores, food, and water, and water is the only factor you can control.
- Common hiding spots include wall cavities under windows, subflooring, attic sheathing, and crawlspace joists.
- Rank your suspect list by proximity to the mold found, not by how dramatic the entry point looks.
- A moisture meter reads relative moisture content, not whether mold is present.
- Stop and call a professional if mold covers more than roughly a few square feet or is inside HVAC ductwork.
Table of Contents
- Why Mold Keeps Coming Back When You Treat the Symptom
- Signs of Mold in a House That Point to a Hidden Source
- How to Find Hidden Mold Behind Walls, Floors, and Ceilings
- Tracing the Mold Moisture Source: A Step-by-Step Investigation
- How to Test for Hidden Mold (and What Tests Can’t Tell You)
- Where to Stop: Safe Inspection Limits and When to Call a Pro
- Book a Moisture and Mold Inspection Before You Clean Anything
- Frequently Asked Questions
Why Mold Keeps Coming Back When You Treat the Symptom
Spraying bleach on a patch of black mold feels productive. It rarely solves anything. The mold returns because the mold source, the moisture that feeds it, never left.
Mold needs three things to grow: spores, food, and water. Spores are everywhere, and most building materials feed them. Water is the only factor you can control. That is why learning how to identify mold source is the whole job. Kill the visible growth and skip the water, and you have just finished round one of a fight that never ends.
This guide walks you through an investigation, from the first sign to a moisture test.
Signs of Mold in a House That Point to a Hidden Source
Signs of mold in a house usually show up before you ever see the mold itself. Most hidden mold announces itself through stains, smells, or materials that have quietly changed shape.
The trick is reading those signals as clues about water, not as cosmetic problems. Here is what to watch for.
Visible Mold, Stains, and Warped Materials
Start with what you can see. Look for:
- Fuzzy or powdery growth in corners, grout lines, or window frames
- Brown or yellow rings on ceilings and walls
- Paint that bubbles, peels, or flakes in one spot
- Baseboards pulling away from the wall
- Floorboards that squeak, cup, or feel soft underfoot
A single stain on a ceiling can be a clue to investigate.
Musty Smells and Earthy Odors With Nothing in Sight
A musty smell with no visible mold can be a clue to investigate. For a fuller list of hidden mold warning signs, see our guide.
Pay attention to where the smell is strongest. If a closet smells worse than the room around it, investigate the area.
How to Find Hidden Mold Behind Walls, Floors, and Ceilings
How to find hidden mold comes down to following moisture, not hunting for dark spots. Mold sits where water collects, so the water is what you are actually looking for.
Common hiding spots include:
- Wall cavities behind drywall, especially under windows
- The back of baseboards and inside closet corners
- Subflooring under bathrooms and kitchens
- Ceiling drywall below a second-floor bathroom
- Attic sheathing and roof decking
- Crawlspace joists and insulation
- Ductwork and air handler cabinets
If you are inspecting walls and ceilings, a dedicated guide on detecting hidden moisture in walls goes deeper into the tools and techniques for each surface.
Tracing the Mold Moisture Source: A Step-by-Step Investigation
A moisture investigation can include an ordered process. The steps below describe ways to investigate possible moisture sources.
Step 1: Map Every Water Entry Point
Walk the exterior and interior of the home with a notepad. List every place water can get in:
- Roof penetrations, flashing, and missing shingles
- Gutters that overflow or dump near the foundation
- Window and door frames with failed caulk
- Plumbing supply lines and drain connections
- Appliance hookups for the washer, dishwasher, and water heater
- Foundation cracks and grading that slopes toward the house
- Bathroom and kitchen exhaust fans that vent into the attic
Mark each item with a rough location. You now have a suspect list instead of a mystery. Rank the list by proximity to the mold you found, the closest entry point is the first suspect, not the most dramatic one.
Step 2: Measure With a Moisture Meter
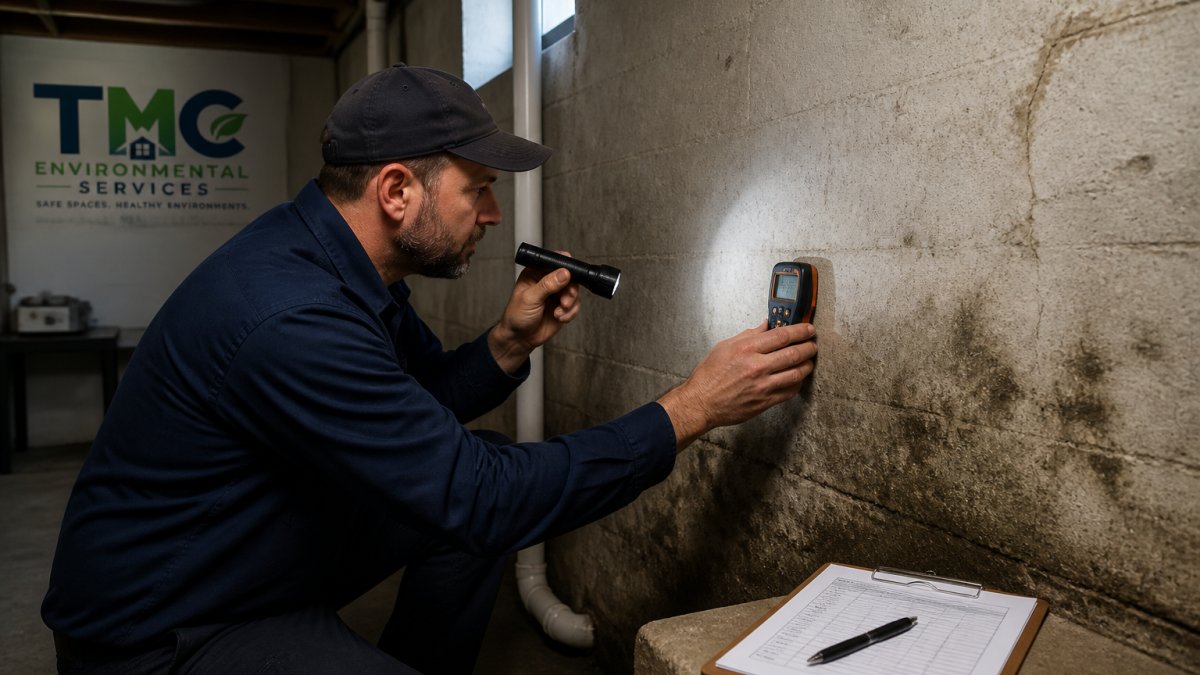
A moisture meter provides readings that can help assess moisture. Pin-type and pinless meters use different measurement methods.
Readings from suspect areas can be compared with a nearby reference spot. Record the numbers and date for reference.
A moisture meter reads relative moisture content, not whether mold is present. A high reading tells you where to look next; it does not confirm a leak on its own.
For a full breakdown of the 7-step root-cause hunt, see our guide on finding the mold root cause.
Step 3: Separate Active Leaks, Condensation, and Old Water Damage
The clues below describe possible signs of active leaks, condensation, and past water damage.
- Active leak: readings climb over days, or the stain grows. Water is entering now. Look for a drip trail, a swollen joint, or a stain edge that is still dark and soft. The repair comes before any cleanup.
- Condensation: moisture appears on cold surfaces like pipes, windows, and exterior walls, often in humid months. The clue is a pattern, droplets on the inside of a window, rust on a cold pipe, or mold concentrated on exterior-wall corners. Ventilation and humidity control are the fix, not a leak repair.
- Past damage: a stain is dry and stable but old. The leak was fixed, the mold was not. The clue is a water ring with a hard, dry edge and no change in meter readings over time. Removal and verification are the next steps.
Step 4: Confirm With a Second Tool Before You Open Anything
Before you cut drywall or pull baseboards, consider that a thermal camera shows temperature differences and a hygrometer measures relative humidity in the room. Neither tool locates a leak on its own. Persistent moisture originating from beneath the foundation often requires more specialized diagnostic techniques, such as detecting slab leaks, to pinpoint the hidden source of the problem.
Do not open a wall to “confirm” a reading. Prying into a contaminated cavity can release spores into living space. Confirm with non-destructive tools first, and stop when the evidence points to a professional inspection.
Step 5: Recheck After the Fix
Once a repair is made, readings can be repeated at the same spots for comparison.
The investigation follows a set order, from mapping water entry points to rechecking readings after the repair.
| Step | What to do | Key detail |
|---|---|---|
| Step 1 | Map every water entry point | Rank suspects by proximity to the mold found |
| Step 2 | Measure with a moisture meter | Compare suspect areas with a nearby reference spot |
| Step 3 | Separate active leaks, condensation, and old damage | Active leak: readings climb over days |
| Step 4 | Confirm with a second tool before opening anything | Thermal camera shows temperature differences; hygrometer measures humidity |
| Step 5 | Recheck after the fix | Repeat readings at the same spots for comparison |
How to Test for Hidden Mold (and What Tests Can’t Tell You)
How to test for hidden mold depends on what question you are asking. A swab sample and an air sample provide different kinds of information. Neither one finds the water source.
A mold test does not tell you where the moisture is coming from. Testing and inspection address different questions.
What Each Test Actually Answers
- Surface swab or tape lift: identifies the mold growing on a specific spot. Useful when you need to know whether a stain is mold or dirt, or when a landlord or insurer asks for documentation.
- Air sample: estimates the spore count in a room at the moment of sampling. Useful for comparing a suspect room to an outdoor baseline, but spore counts shift with weather, HVAC operation, and activity in the room.
- Cavity or wall-cavity sample: taken through a small opening to check inside a wall. This is the closest a test gets to hidden mold, but it still does not tell you where the water is entering.
How to Read a Mold Test Result
A lab report usually gives a spore type and a count. Read it in context:
- Compare indoor counts to an outdoor baseline taken the same day. A modest indoor count that mirrors the outdoor count is common and not automatically a problem.
- Look for a dominant spore type indoors that is rare outdoors, that pattern is a stronger signal than a raw number.
- Treat any single sample as a snapshot, not a verdict. A result taken during dry weather can understate a problem that appears after rain.
A mold test and a moisture investigation address different questions. A test cannot find the moisture source.
When Sampling Is Worth the Money
Sampling may be considered when documentation is needed for a landlord, insurer, or buyer, or when further information is sought about a stain or remediation.
If you are weighing whether lab work is worth the money, our cost guide on whether professional mold testing is worth it walks through what each test actually delivers.
Where to Stop: Safe Inspection Limits and When to Call a Pro
Know when to put the tools down. Disturbing moldy materials without protection can spread spores through the house and turn a small problem into a big one.
Stop and call a professional if you find:
- Mold covering an area larger than roughly a few square feet
- Mold inside HVAC ductwork or the air handler
- Sewage or flood water involved
- Soft, crumbly building materials
- Any suspicion of asbestos in older flooring, insulation, or joint compound
A common mistake is prying open a wall “just to check” and releasing a cloud of spores into a living space. If you are deciding whether to bring in help, our guide on whether a mold inspection is worth it covers how to make that call.
Book a Moisture and Mold Inspection Before You Clean Anything
Cleaning before investigating a possible moisture source may leave questions about the cause unanswered.
That is the challenge worth solving first. The Mold Consultant, LLC is locally owned and operated and has over 10 years of industry experience. We offer non-destructive testing solutions to identify moisture intrusion and mold growth, along with actionable remediation strategies. Our credentials include Certified Microbial Remediation Supervisor (CMRS), Certified Restorer (CR), and Certified Residential Mold Inspector (CRMI) designations, plus A+ accreditation from the BBB. We offer discounts for veterans, teachers, and first responders.
Get started with The Mold Consultant, LLC and find the water before the mold finds you again.
Frequently Asked Questions
How do you find the source of mold in a house?
Work backward from the moisture, not the mold. Start where you see growth or smell a musty odor, then check the nearest water entry points: plumbing supply and drain lines, the roof above, window and door frames, and the foundation wall behind the finish. A handheld moisture meter can provide readings for comparison. A reading alone does not establish the mold source.
Can you test for hidden mold without opening a wall?
Moisture meters and thermal imaging provide readings or images that may help assess an area without cutting into it. Testing alone does not identify the moisture source. A professional inspection is one option to investigate further.
What time of year is worst for mold growth?
Mold concerns can arise in any season when moisture is present.
What should you do if mold keeps coming back after cleaning?
If mold recurs, investigate possible moisture sources such as plumbing, roof or flashing, ventilation, and drainage. A moisture meter provides readings, but it does not by itself identify the source.
